Chapter 3
Onboard your team to Trello
Whether you're a team of ten or ten thousand, it only takes a few minutes to onboard your team members, set permissions, and start collaborating.
Information can easily get lost or misinterpreted when spread over many different tools such as emails or spreadsheets. Trello helps your team focus on the work that matters with its intuitive design, features, and integrations which minimize cumbersome learning curves and hours of tedious work. With Trello you can be sure everybody is on the same page to take projects to the finish line and has the tools they need to get their work done.
Section Overview
In this section you will learn:
- What is a Workspace?
- Set up a few boards
- Tips for onboarding success
- Gain cross team perspective
Create a Workspace for your team's projects
Trello Workspaces are a secure place for all your team's projects. At a glance, you can get perspective on all team member’s work, navigate your team's boards, view information, and gather all valuable stakeholders in one place.
What is a Workspace?
A Workspace is your team's navigation hub, where everyone can access all the team's boards, members, and Workspace views. Within a Workspace you'll have all the context you need to productively contribute to the collective team effort.
Workspaces are a place where information can easily be found, shared, and collaborated on.
When you join Trello you are automatically added to a Workspace. In this space you can create up to 10 boards for free. To create a board within a Workspace, click on the “Create” button from the top menu in your Workspace.
Premium TIP ALERT:
Expand your Workspace experience by adding unlimited boards and more.
Onboard your teammates.
Reduce the risk of miscommunication (or work FOMO) and invite all the relevant team members and colleagues to the party. There is no limit to how many members can be added to a Workspace.
Invite members to a Workspace in the Members tab of your Workspace by clicking “Invite Workspace members.” You can search for them by email address or name.
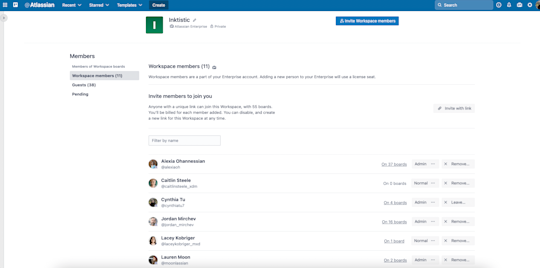
In free Workspaces, every member will automatically be granted admin status by default, letting them invite and remove Workspace members, create Workspace invite links, convert guests into Workspace members, and more.
You can set more granular Workspace permissions by subscribing to our Premium plan. In this case, the capabilities listed above are reserved only for designated Workspace admins, and admins can set other member’s Workspace roles to admin, normal, or observer. Additionally, Premium Workspace admins can:
Maintain admin status on all Workspace boards, including private boards
Manage who can create and delete Workspace boards at different visibility levels
Manage who can add Guests to a board
Can turn Single-Board Guests into Multi-Board Guests
More details here.
Set up a few boards
Getting everybody to use the same tools can be challenging, here are a few tips to help your team get onboarded to Trello seamlessly.
Set up Trello boards based on existing team projects and activities
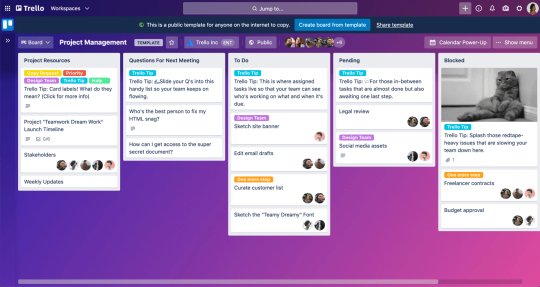
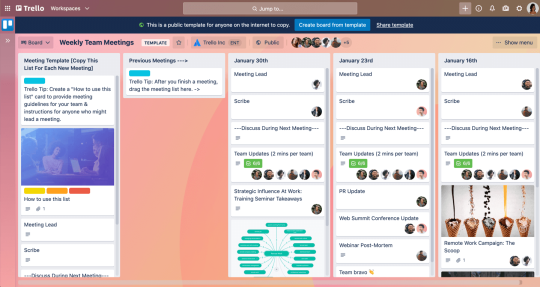
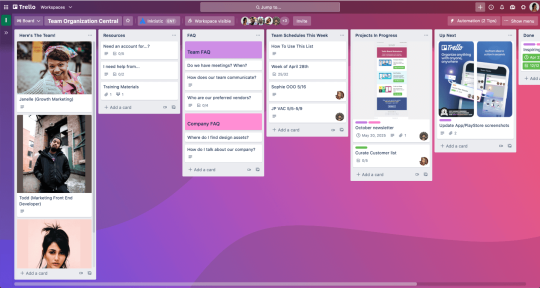
The easiest way to onboard a teammate to Trello is to start from a context they already know. Pick an activity or a project your team is already familiar with and create a Trello board to facilitate it. Luckily, we have templates to help you get started.
Pro-tip
There are millions (billions?) of ways to be productive with Trello. Get some inspiration from other Trello users in our Template Gallery.
Create clear spaces for each team or project by creating boards that represent existing workflows. Avoid filling up one board with too much information, and instead create new boards to break down your workflow in a more digestible way.
Tips for onboarding success
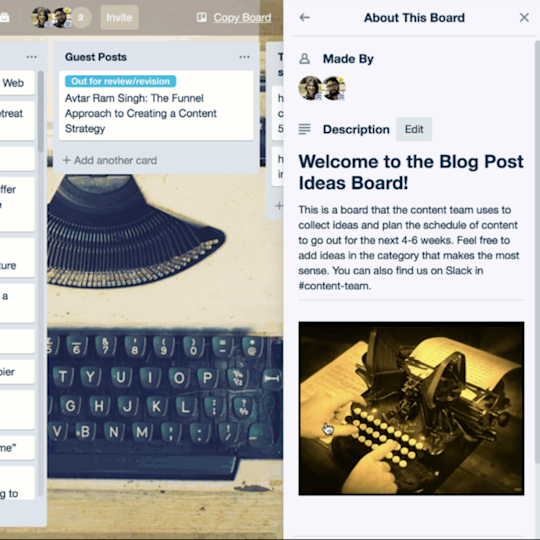
Give context to break down silos. When you enter an office, you’ll naturally look around to understand the environment you are stepping into. Same goes with a Trello board—and to help give your team as much context as possible, we recommend filling in the "About This Board" section. It provides a place to add details about a board's purpose, goals, and so much more. It is helpful to anyone joining your board—from a client, to a new team member, to a temporary stakeholder.
The ‘About This Board’ feature should have three sections:
Made by: to highlight the creator(s) of a given board.
Description: to share all the details regarding the board’s context, purpose, best practices, and stages.
Actions: to easily highlight the voting and commenting permissions.
Gain cross team perspective
Getting perspective on one's work means being able to look at it from different angles and choosing the one that is the most relevant to your job. The same goes for group work—time spent taking a step back or going deeper into specific details can help your team take the project to the next level.
With our Workspace Table view you can visualize cards across boards within a Workspace, sort and filter them by various criteria. If you are a manager that is a great way to get perspectives on the workload of your team members or have an overview of a specific line of work that might happen across different teams.
Learn more about Workspace views here.
While Trello Workspaces create a robust and safe place for your team to work productively, the flexibility of Trello boards give you infinite opportunities to build the workflows your teams need to get their work done seamlessly.
* Available to Premium and Enterprise customers
Additional resources
Solution
Try Premium free for 14 days
See your work in a whole new way with Trello views.
